- Home Page
- Blog

Welcome!
It's time for another guide, isn’t it? This time we decided to prepare a guide to show you how to run Nutra offers on Facebook. And although affiliate marketing ion social media is getting harder, we will tell you how to quickly set everything up and protect yourself from bans.
So, let's go!
Preparation
To get started, you will need a FB account and a business manager, you can either buy or farm them. In order to simplify this guide, we will buy them, if you want to create accounts yourself, there is a lot of information on the internet on how to do it.
1. Accounts
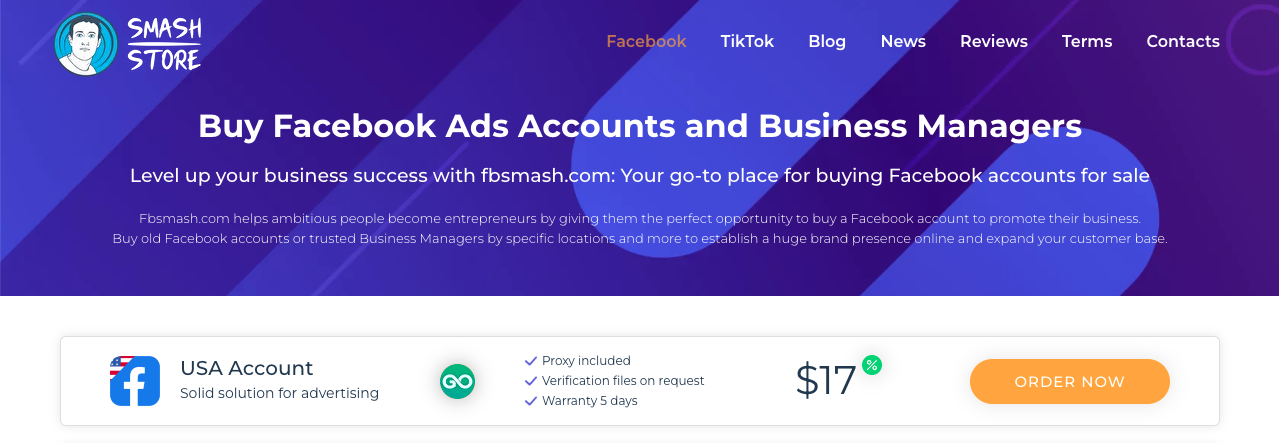
We recommend buying accounts at https://fbsmash.com/. The guys provide excellent support, help you choose the account and business manager you need, and also tell you how to link them together.
2. Antidetect Browser
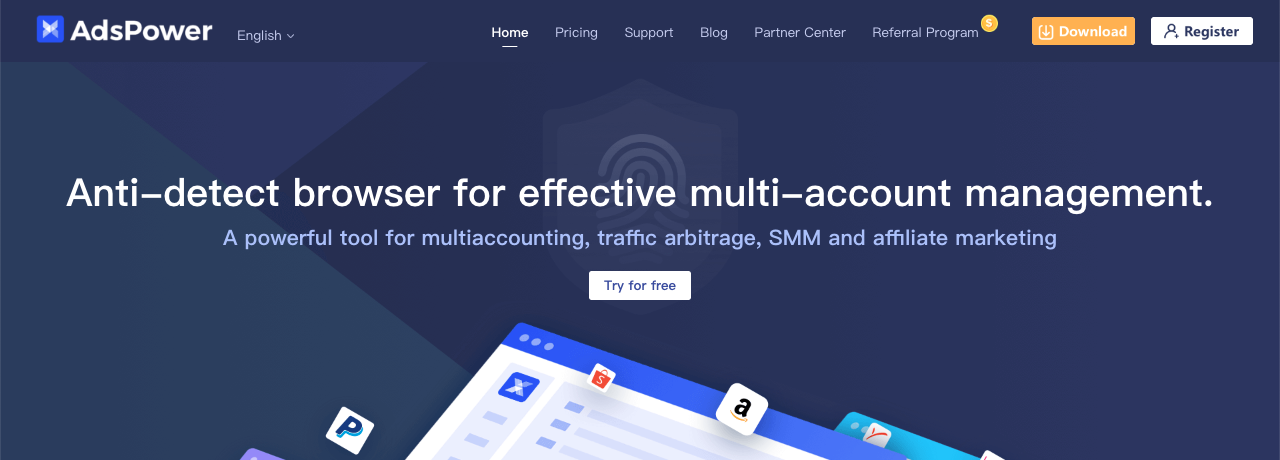
We also need an antidetect browser to work. There are a lot of different antidetect browsers on the internet, but since you are just starting out and want to reduce costs as much as possible, you can use the AdsPower antidetect browser, it offers a free plan with two profiles, which should be enough for you at the beginning.
3. Proxy
Now you will need to purchase a proxy, we advise you not to buy datacenter proxies, it is best to use residential or mobile proxies.
You can buy quality proxies here:
Also, partners that feel creative can create mobile proxies at home, there are many guides on this topic on the web.
4. Cloaking
In order for FB to let your ads through, you need to hide your real landing from moderators and bots, the cloaking service will help you with this, in our case this is Cloaking.House .

5. Hosting and domains
For cloaking, you will need hosting and a domain where you will upload the cloaking index.php file. There are many hostings where you can buy everything you need, a few examples:
Now the preparation is over,let's move on to the second stage, setting up our cloaking system.
Cloaking
Uploading the landing page to a hosting
At this stage, we will prepare our cloaked offer link, which we will use in our FB campaigns in the future.
The first thing we need to do is download our landing page.
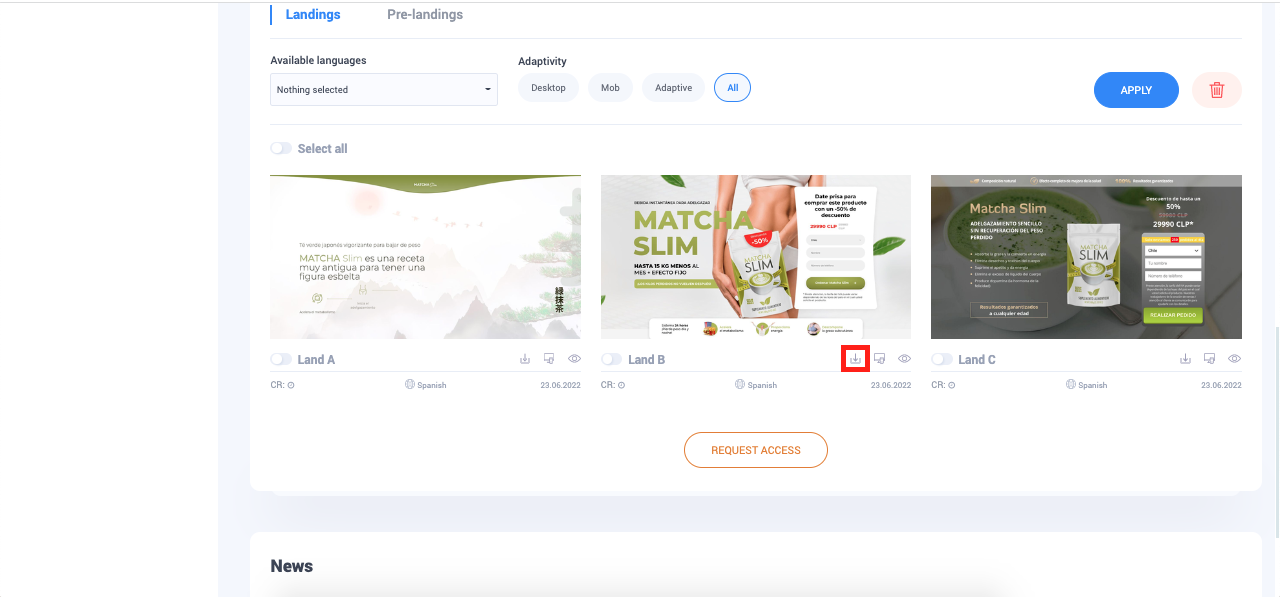
Let’s go to the page of the offer we have chosen and look for the landing page we like.
Under the landing page, click on the “Download” icon.
If you do not see this icon in your account, you need to write a ticket in the system and request API function enabling.
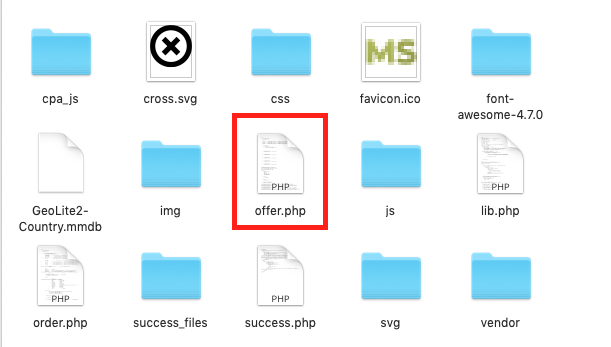
After clicking, the download of the archive with the landing page should start, unzip it on your computer and rename the index.php file to any name you like, for example, I will call it offer.php.
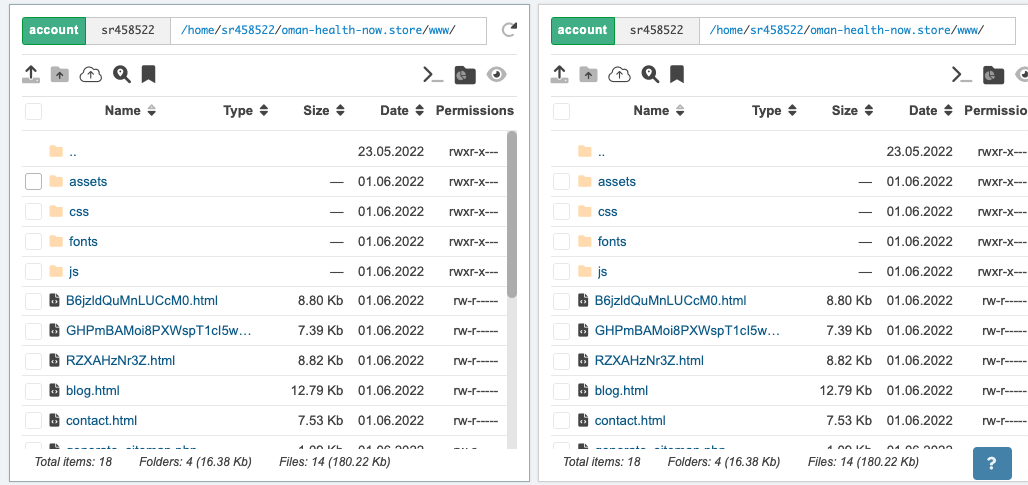
Now go to your hosting and copy all the files from the landing archive to the root directory of the domain. This action may differ slightly from one hosting provider to another, but the essence is the same, all files from the landing archive must be copied to your domain.
Creating and uploading a whitepage
To bypass source moderation, we need a whitepage, the page that is displayed to moderators and bots. There are also two ways here, you can either create it yourself, or buy it ready-made in any generator. Please note that if you are going to write a whitepage yourself, you must clearly understand the policy of the traffic source in order to create a whitepage that suits your needs.
In this review, we will buy our white page at https://pl.ad-red.ru/, one page costs about 100-200 rubles.
After buying/creating our page, we also need to rename index.php or index.html to a different name, let's call whitepage.php for example, and load all the page files to the root of our domain.
Creating and configuring the cloaking function
Having an offer page and a whitepage on our hosting, we can safely proceed to the cloaking setup stage.
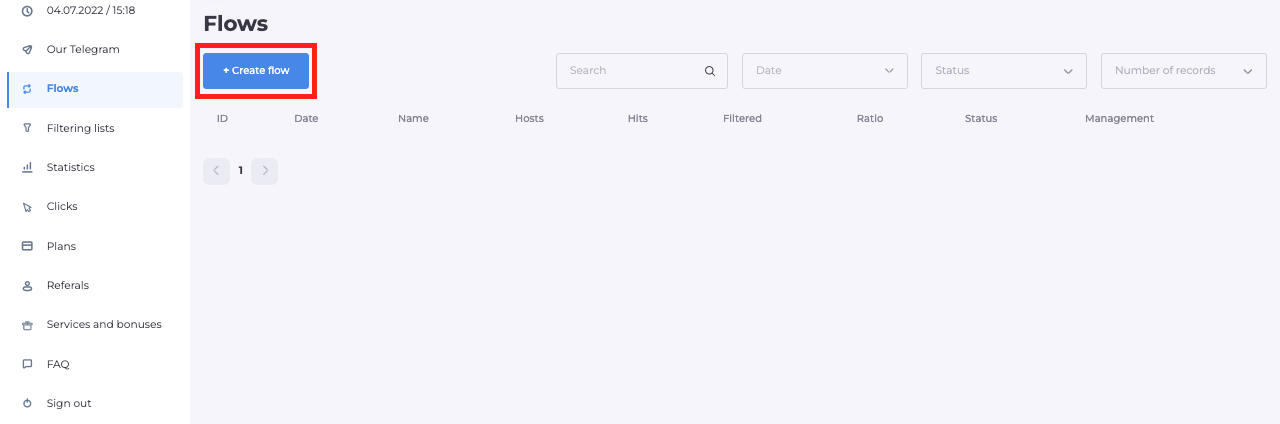
Go to Cloaking.House, create a new flow:
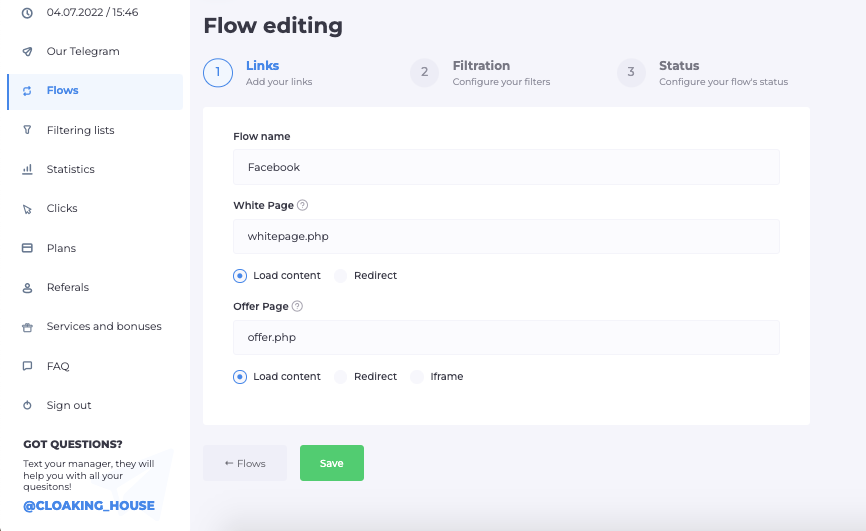
In the new page, set up the name of the flow, enter the names of the white page and the offer page as we called them when uploading to the hosting, in our case it is whitepage.php and offer.php, make sure that “Load Contect” is selected everywhere and click “Continue”.
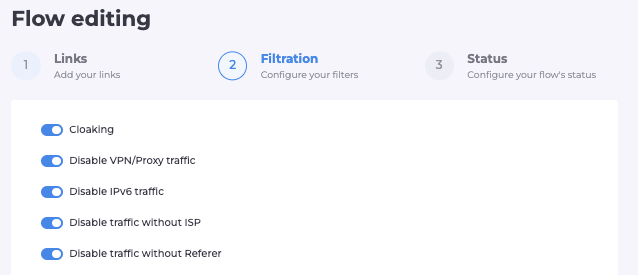
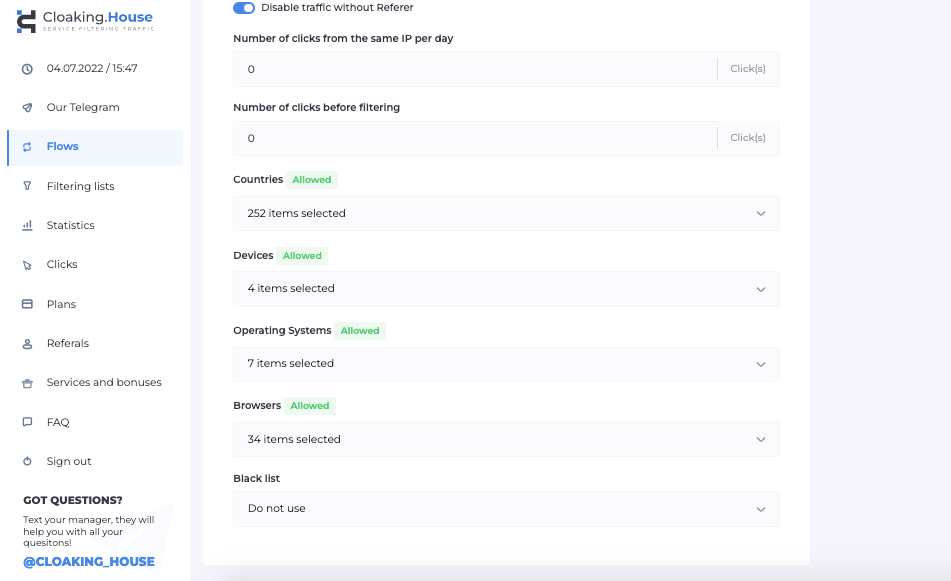
On the next page, we will configure the filterings.
Here, leave the first filters enabled by default, this will help create as much protection as possible for your link, but keep in mind that the “Disable IPv6 traffic” filter should be disabled after moderation.
Next, select the allowed countries, devices, systems, and browsers. Click "Continue".
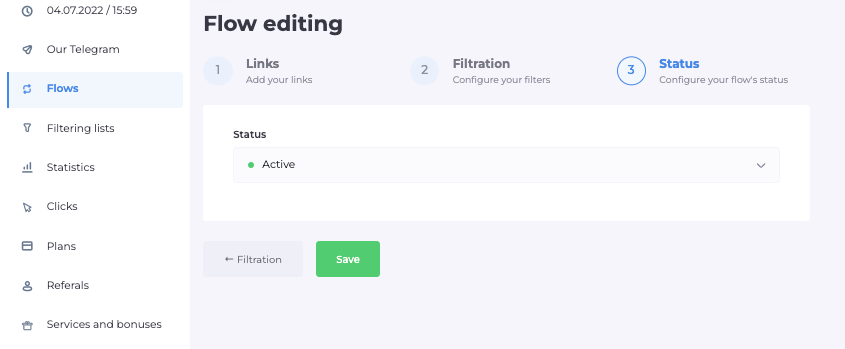
On the last page, set the status to “Active” and save.
In the Flows page you can find your new stream, navigate to the right and click on the “Download” icon.
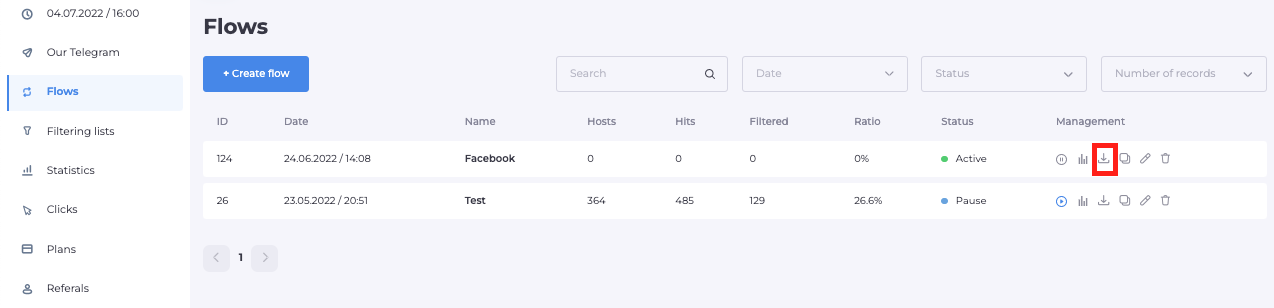
Upload the index.php file from the downloaded archive to the root of our domain, and thus our link should be working.
Setting up Facebook ads
At this stage, you should have a working FB account linked to a business manager, an anti-detect browser, a proxy, and a working cloaked link.
It's time to start working with our Facebook as your traffic source.
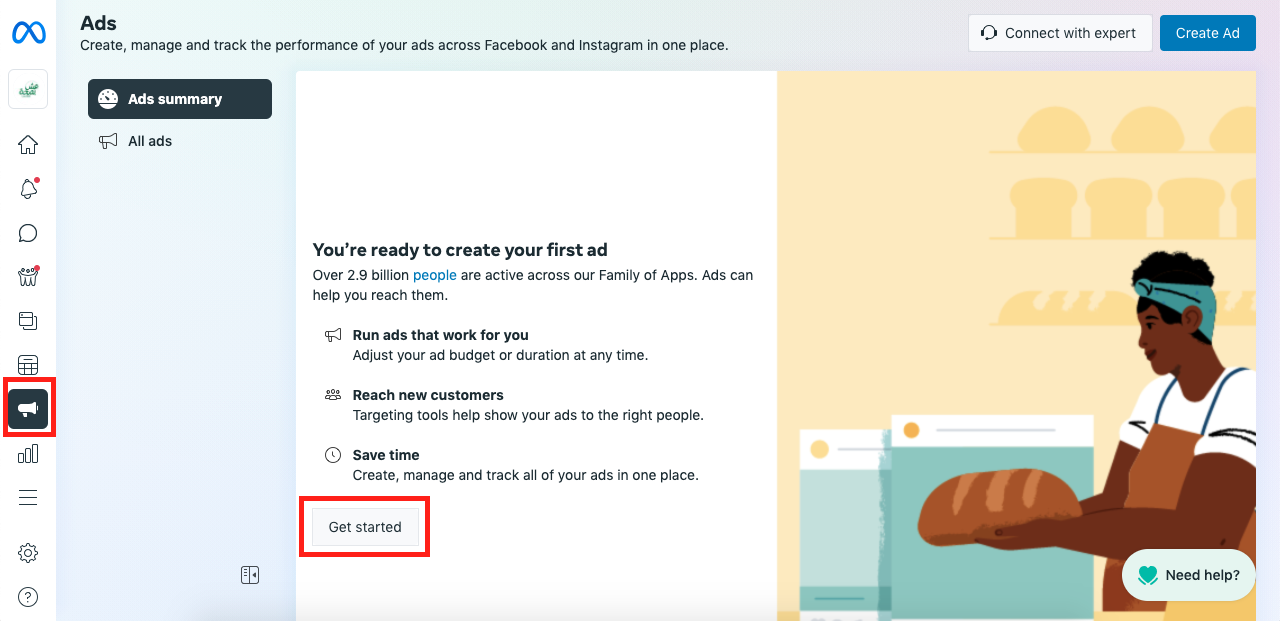
Open the antidetect browser, go to your account, and from there to the business manager.
You should be in the Ads section, where you should click on “Get started”.
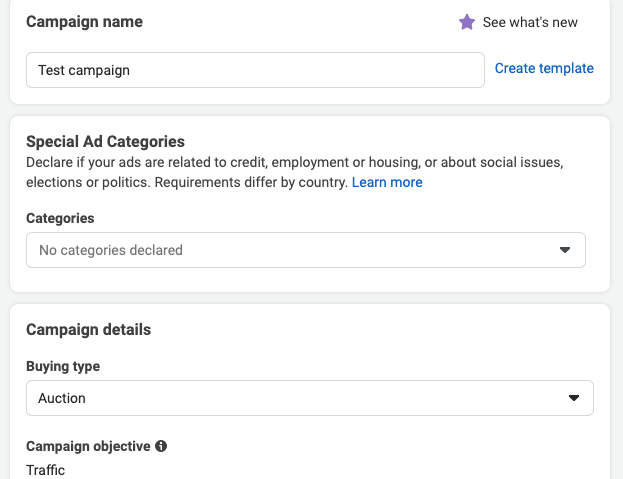
In the pop-up window, select “Traffic”, then on the new page, set the name of your campaign, leave the categories empty, leave the traffic purchase model and the campaign goal as default auction and traffic. Scroll down.
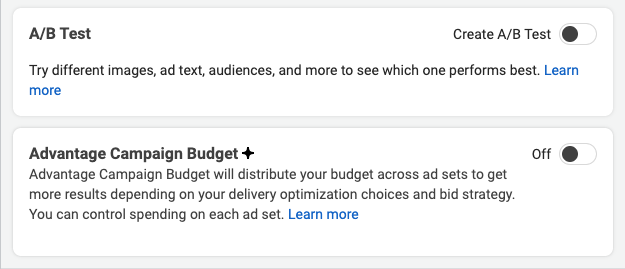
Leave A/B Testing and Advantage Campaign Budget disabled and click Continue.
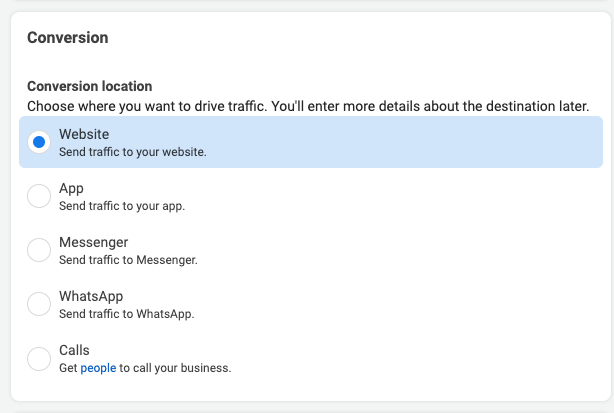
Leave Website in the conversion, as you are redirecting traffic to a website.
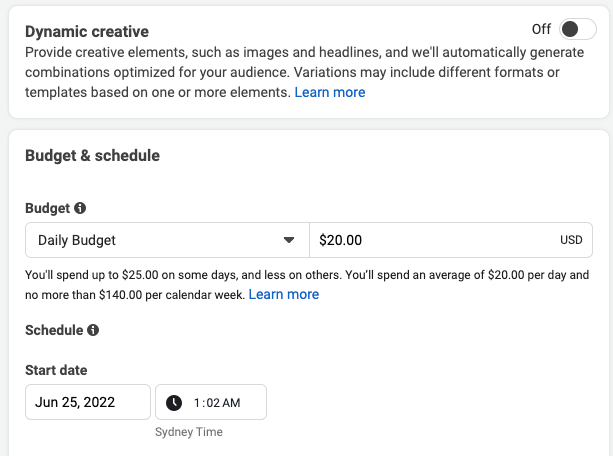
Turn off dynamic creatives and set the desired budget.
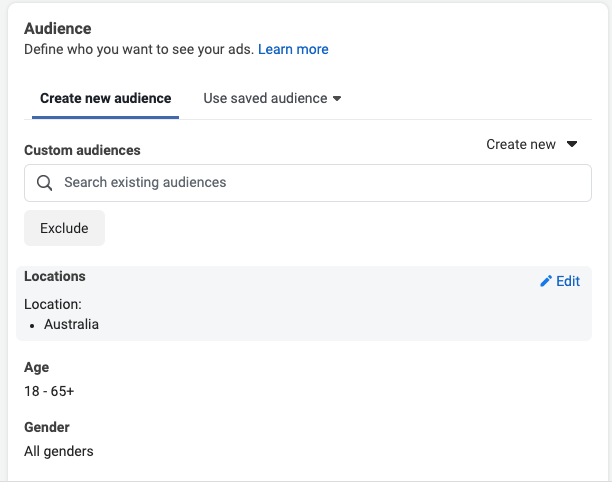
Now select the audience, for this select the country, gender, age and language of the audience.
Next, choose where your ad will be displayed. Select Manual Placements so that we can disable everything that is not needed and leave only Facebook.
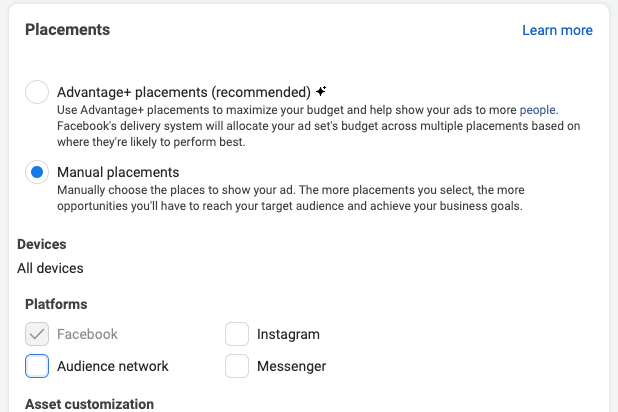
Set up ad placement on Facebook. Please note that all Facebook advertising settings described in this guide are not the “only” or the “correct” ways, they are merely our preference, but you can set up your ads in a way that is convenient for you.
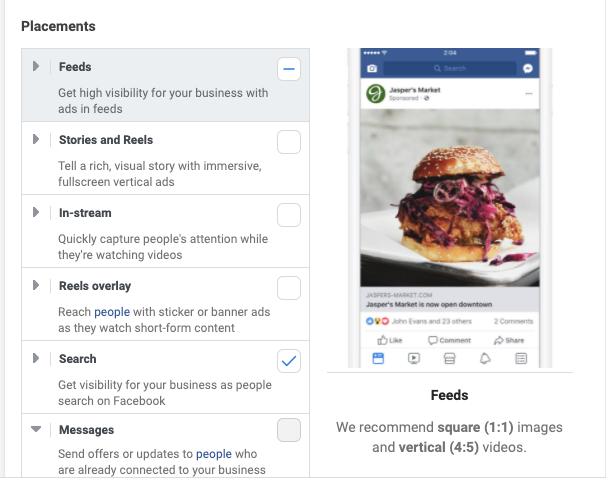
So, here we leave only Feeds and Search, turn off the rest and click “Next”.
On the new page, select manual download and in the ad format section, select “Carousel”.
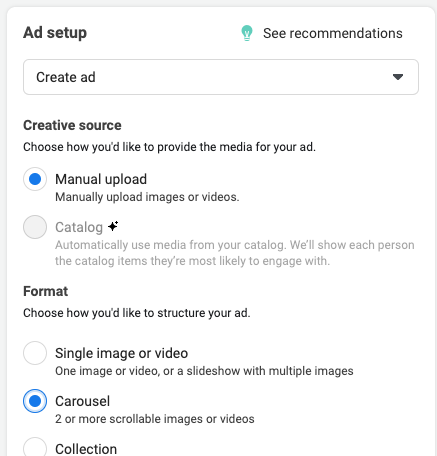
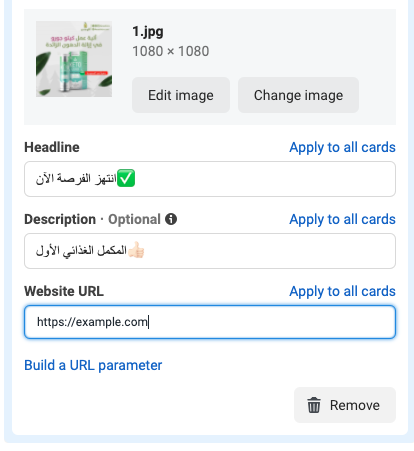
For the carousel format, we recommend creating 4-5 brochure-like images, where each page encourages the user to take an action more and more.

Create a title and a description for each image and paste in your cloaked link. Keep in mind that as soon as you paste the link into the right field, FB bots will start storming it, even before the ads start, so make sure that cloaking works correctly.
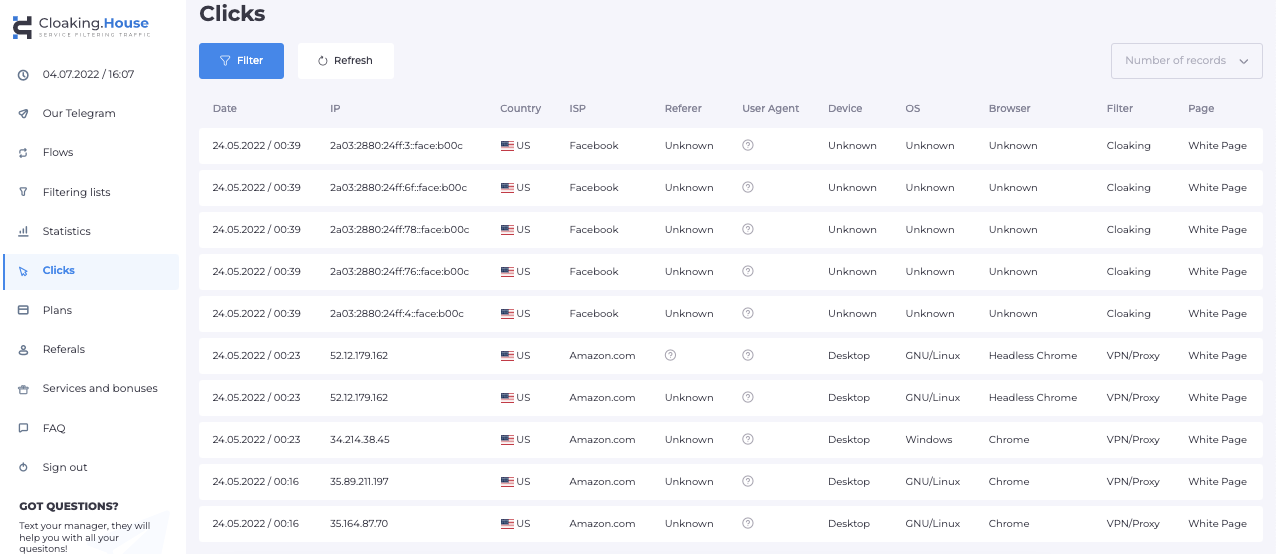
Now press Publish and voila, the ad has gone to moderation, which will take several hours, and at this time you can watch how the bots storm your link in the “Statistics” section in Cloaking.House.

Cool support
If you have any questions, you can write to any of our managers

